How to Get Photo Viewer in Windows 10
How to restore and use Windows Photo Viewer in Windows 10
Reclaim an old favorite app
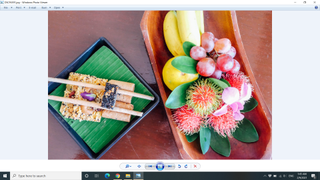
(Image: © Future)
You might be wondering why you would restore and use Windows Photo Viewer in Windows 10. It may seem like an app of the past, but it's not going away any time soon.
Though Windows Photo Viewer was the default photo app on Windows 7 and 8, Microsoft replaced it with its Universal Windows Platform app simply called Microsoft Photos. And, yes, Photos' cross-platform abilities are very forward-looking as well as convenient for anyone also using a Windows tablet, but the app uses up a lot more memory than its predecessor, and in many ways is just not as easy to use as the older app. Not to mention, Photos is not the most reliable of apps, either.
Luckily, if you're not happy with the new Microsoft Photos, you don't have to turn to third-party developers to find an experience similar to the old Photo Viewer. That app is still there, hiding in the shadows of the OS. It's as easy as knowing how to play DVDs in Windows 10, and you don't even need to know how to start Windows 10 in Safe Mode. It only takes just a handful of steps to bring it back into your stable of go-to apps. So, if you're wondering how to restore and use Windows Photo Viewer in Windows 10, you can rest easy as we're here to help.
Just purchased your copy of the OS and are trying to figure out how to install it? Here's how to find your Windows 10 product key and how to activate Windows 10 to get you started.
How to restore Windows Photo Viewer after upgrading from Windows 7 or 8
If you have a computer that's been upgraded to Windows 10 from either Windows 7 or 8, getting Windows Photo Viewer back is incredibly easy.
That's because the app never went anywhere. Instead, what's changed with the installation of Windows 10 (and Microsoft Photos with it), is which app is set as the default option for opening any photos. Fortunately, it doesn't take very many steps to change the default app back to the Windows Photo Viewer.
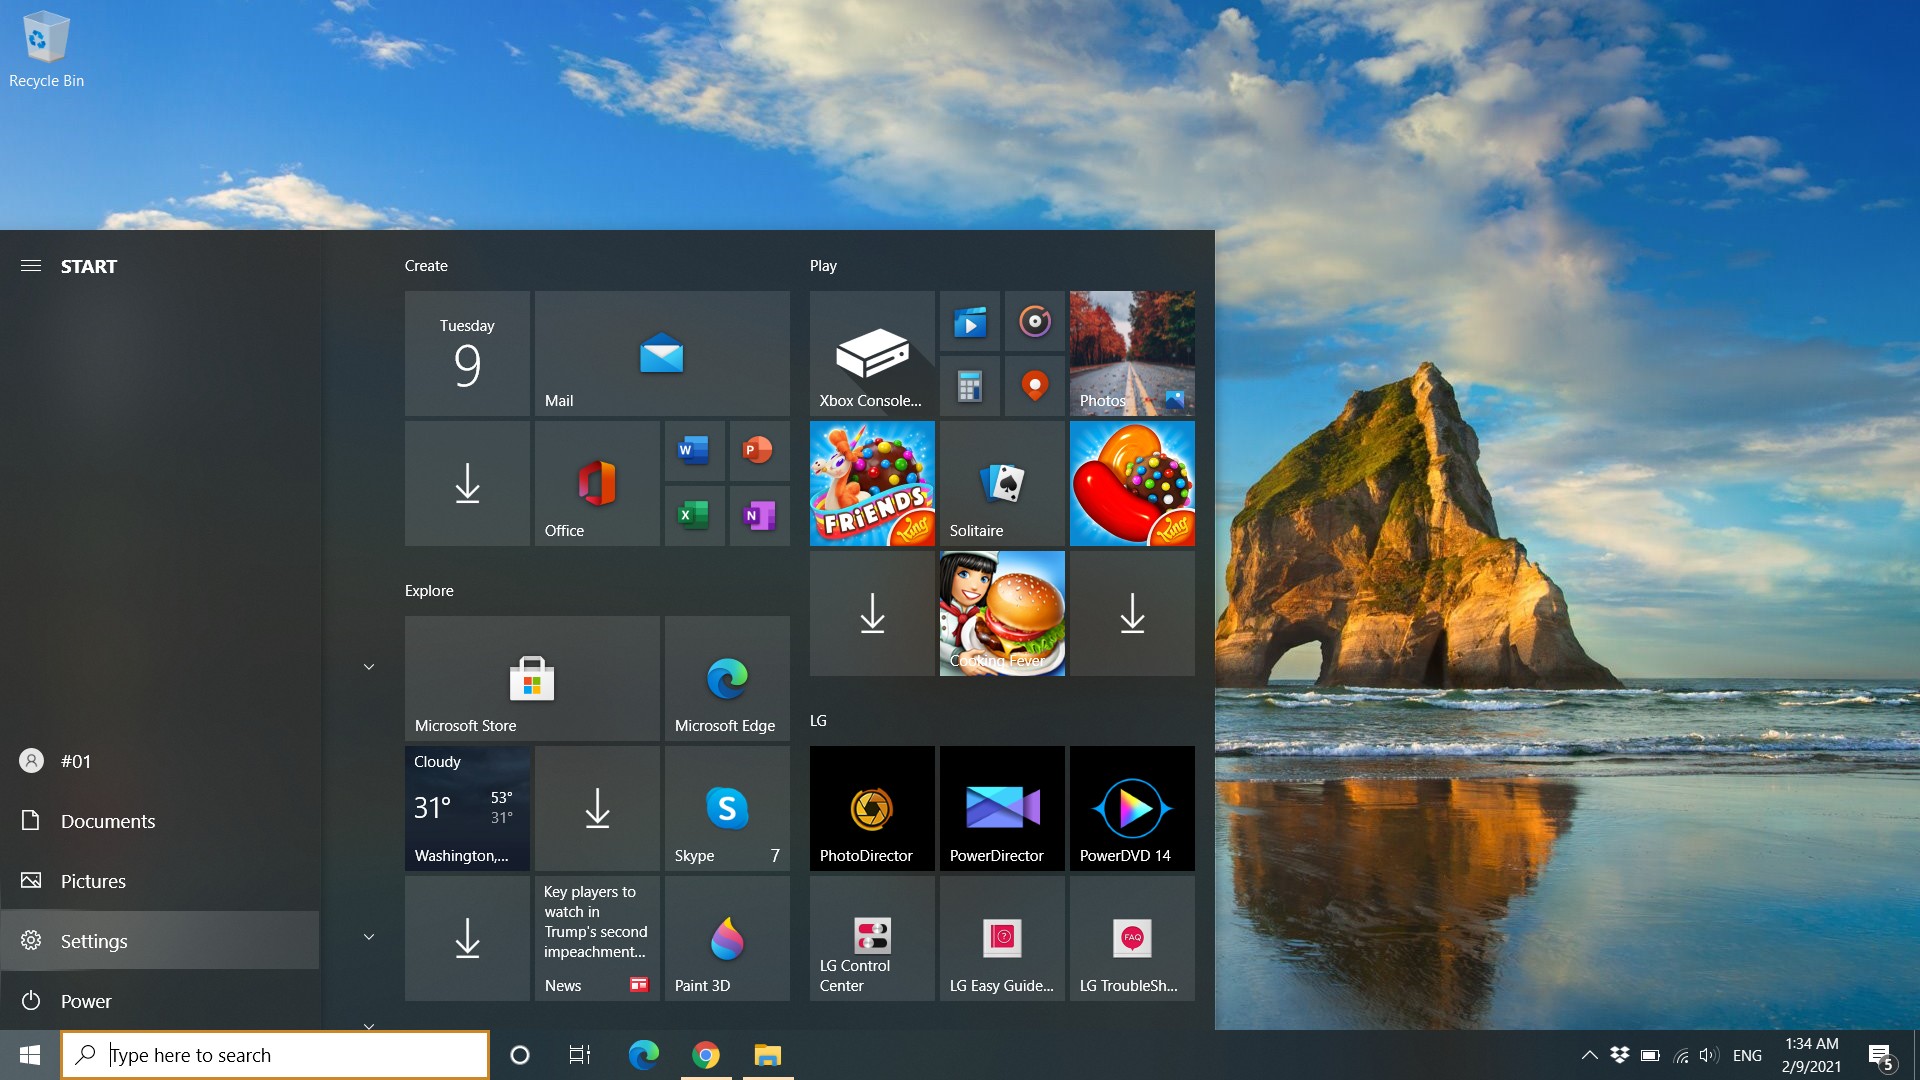
1. Open the Settings app.
You can easily find it on the Start Menu – it's the icon just above the Power button – or by typing "Settings" into the search located on the taskbar.
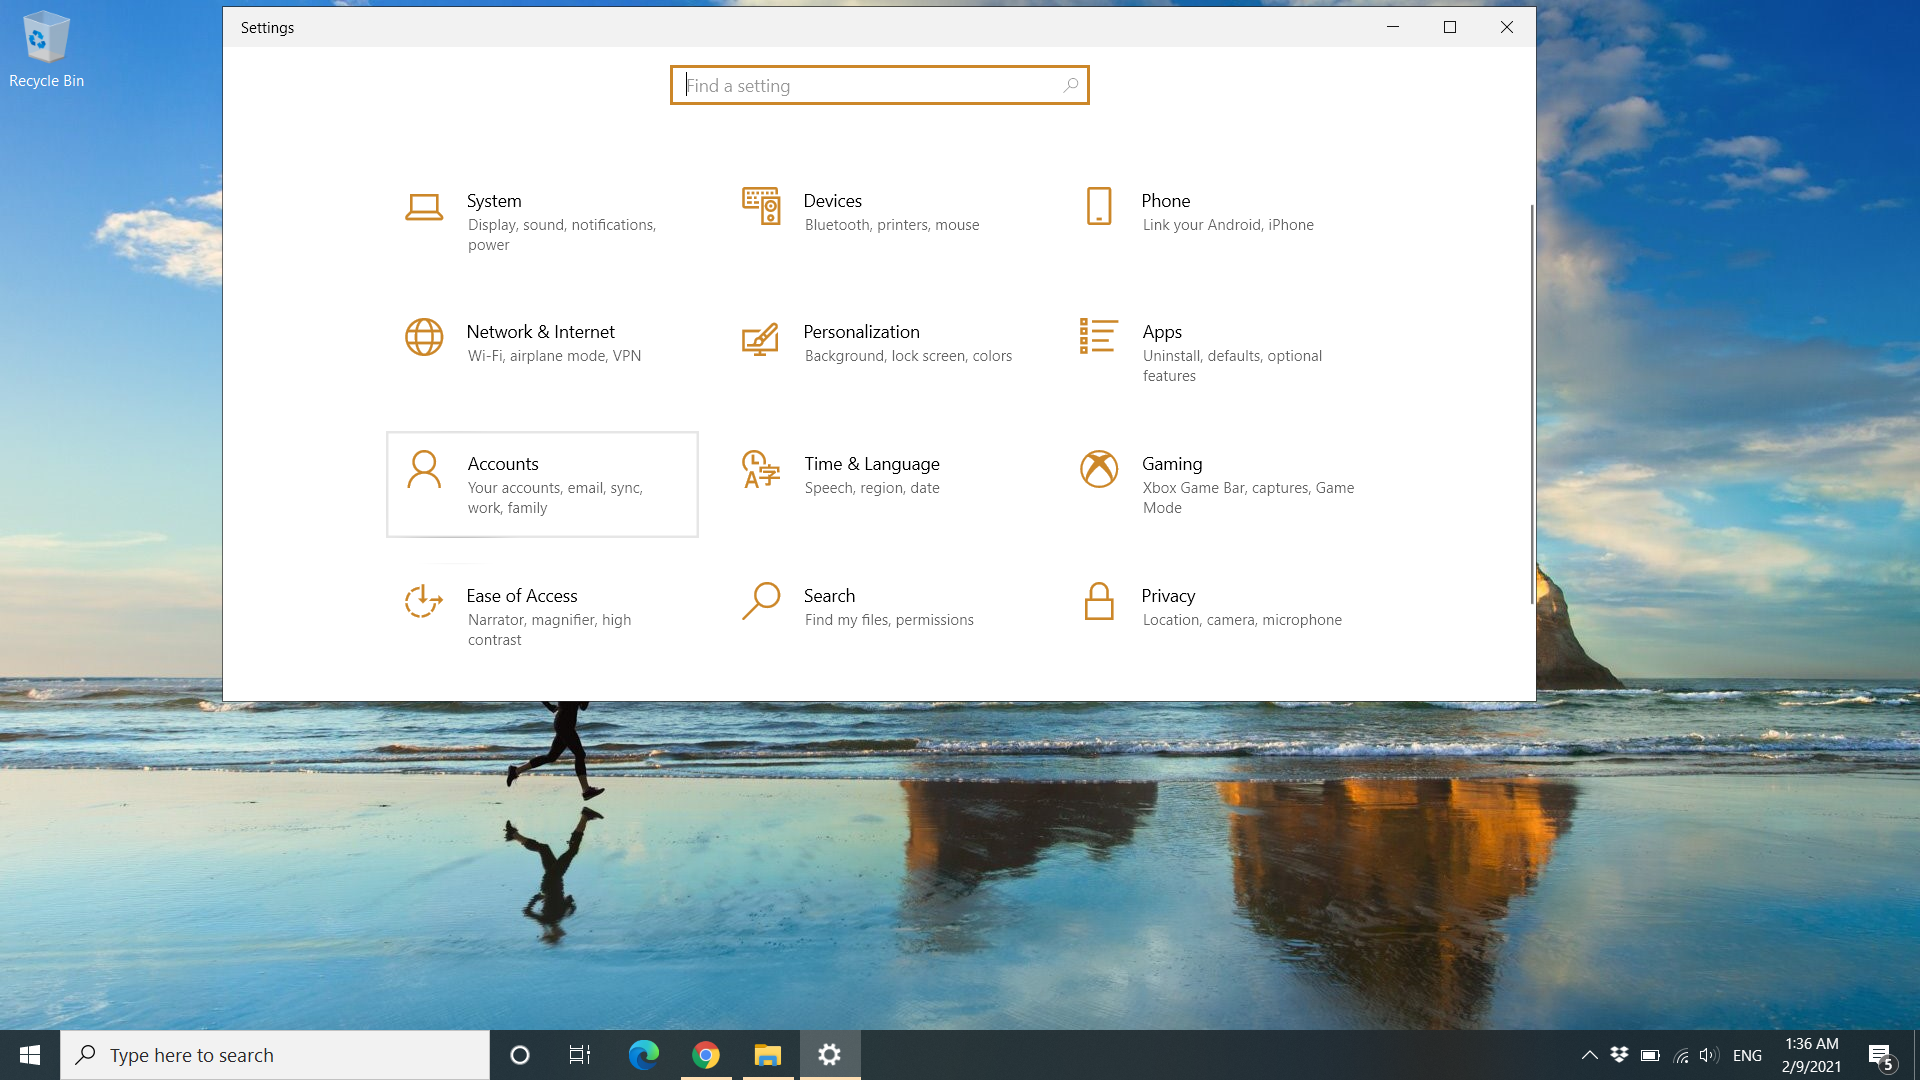
With the Settings app open, click on the category labeled Apps.
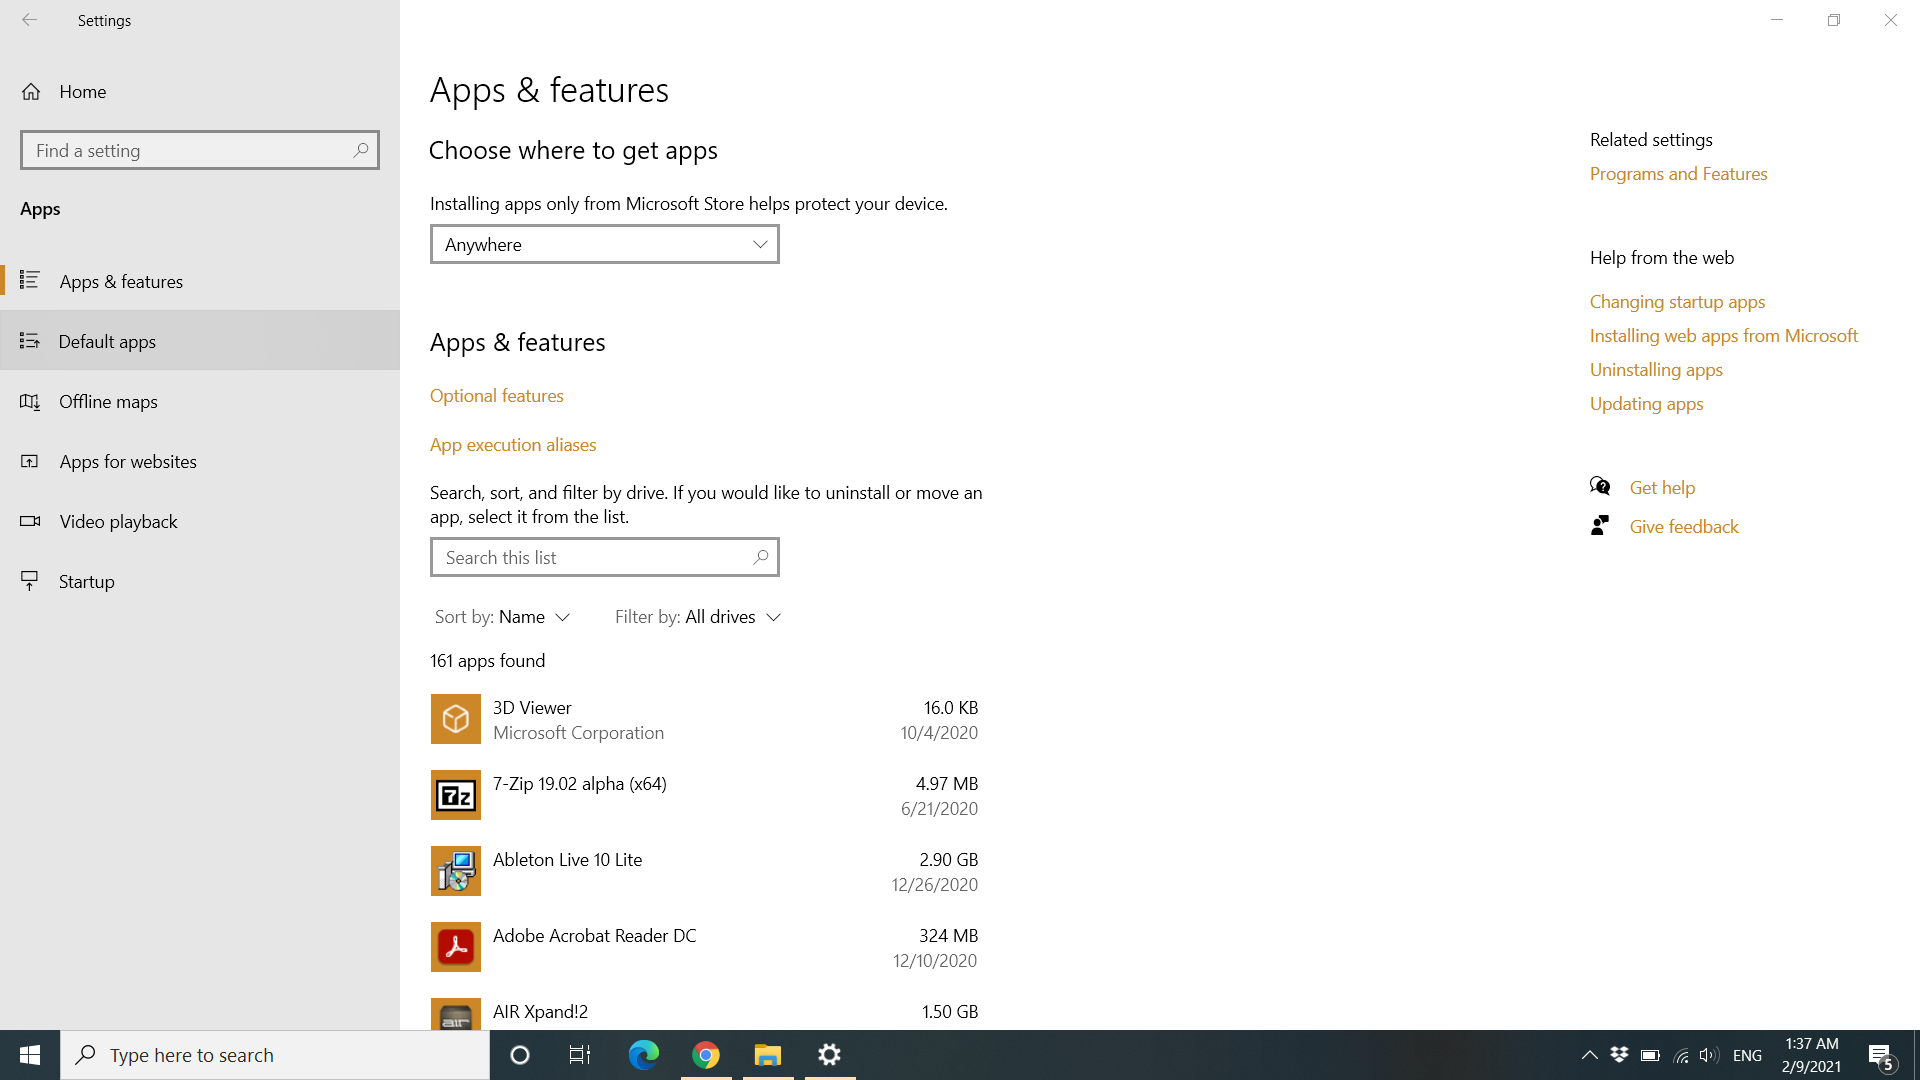
2. Click on Default Apps
You'll find the Default Apps selection listed among the options over to the left of the window.
When that opens, a list of app categories and the apps that each category of file defaults to will appear.
Image 1 of 2
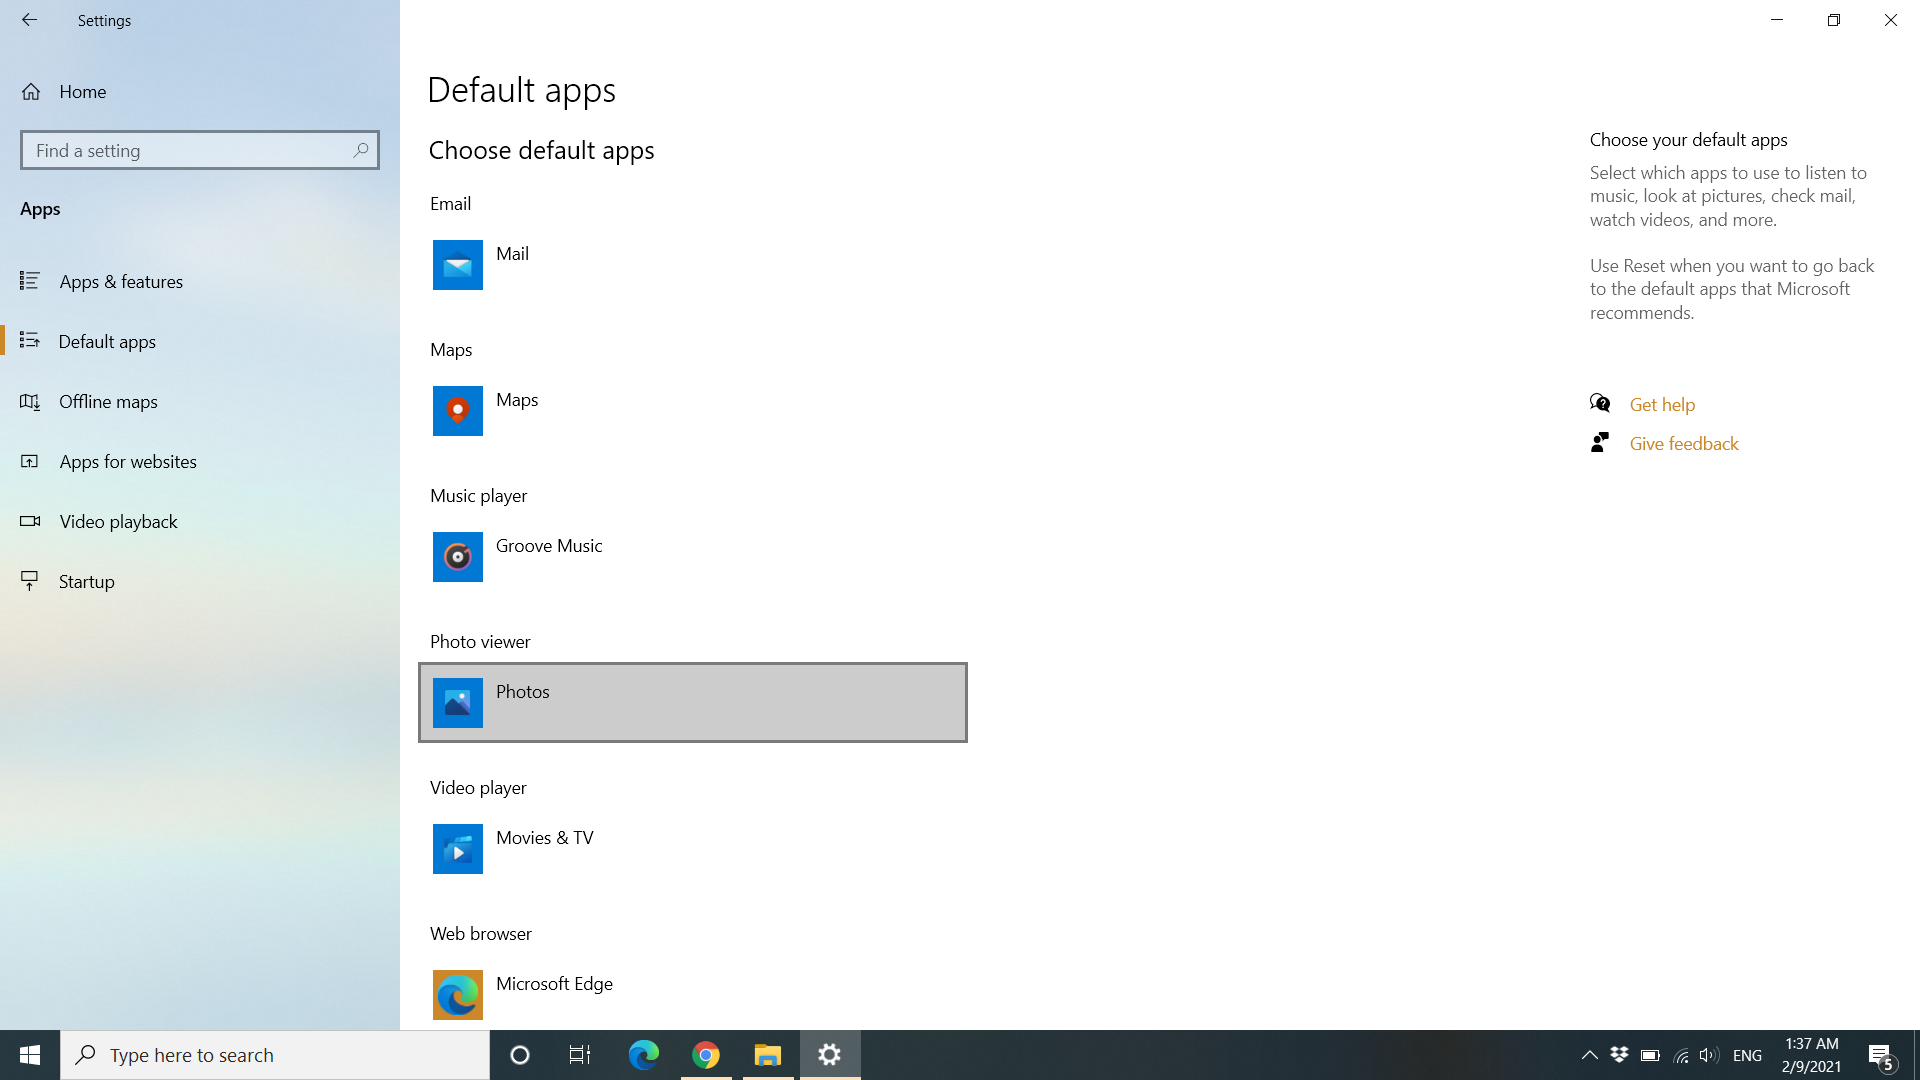
Image 2 of 2
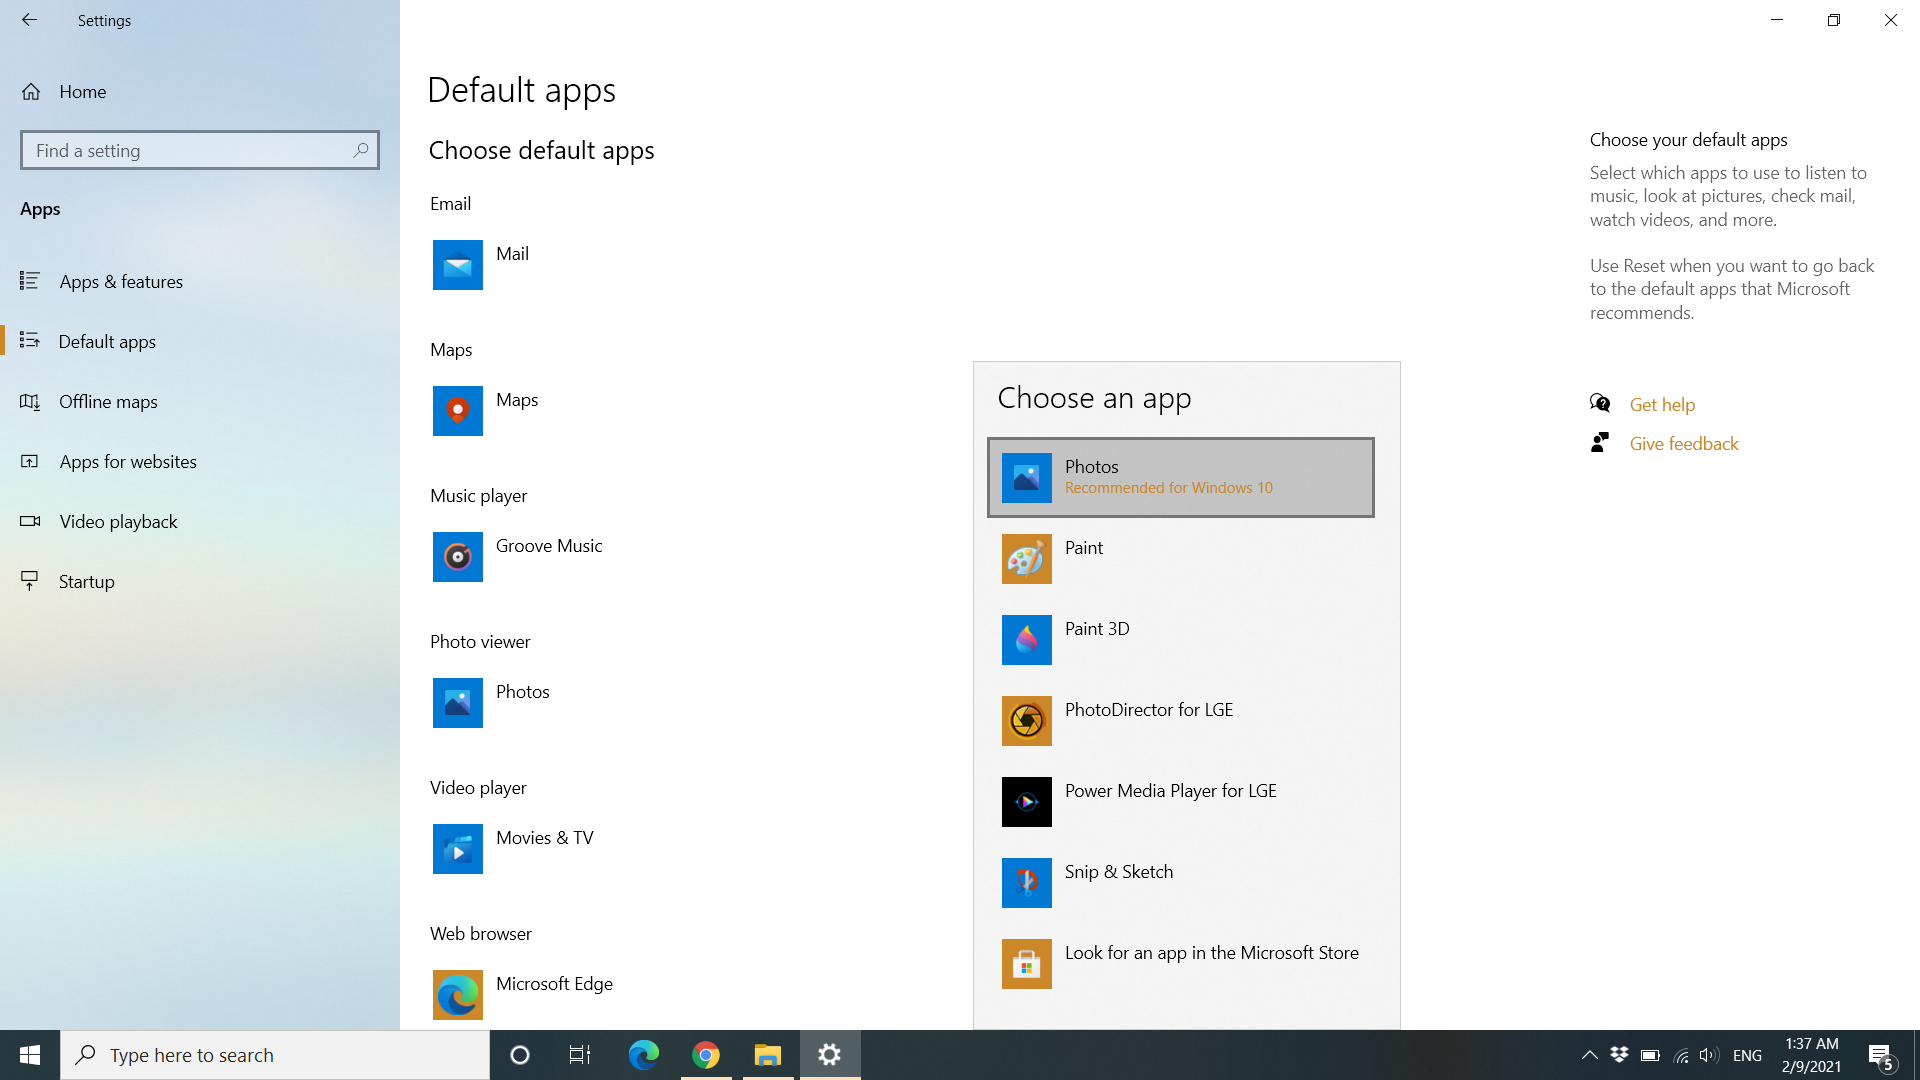
3. Select Windows Photo Viewer
In the dialog box that appears, find and double click Windows Photo Viewer to set it as your default photo app.
You should now have Windows Photo Viewer set as your default photo app. If you don't see the Photo Viewer listed, then you need to follow the steps below.
How to restore Windows Photo Viewer from scratch in Windows 10
It gets a bit more complicated for those using a clean install of Windows 10. While the Windows Photo Viewer app is still lurking in the code, it's inaccessible without a Registry hack.
While it does take a few more steps than those with an upgraded version of Windows 10, it won't be long before you're working in your favorite photo app.
1. Get the Registry file.
First, download the Registry file hosted by BleepingComputer. Microsoft essentially hid the app by removing it from Windows' registry.
This file will adjust the registry to let Windows 10 see that Windows Photo Viewer is still there. Just make sure to save the file to an easily accessible place like the Desktop or downloads folder.

2. Double click the registry file to run
You'll run through a couple different prompts, asking if you want to continue. First, you'll be prompted with a dialog box that asks if you want to make changes to the device, press "Yes."
Then, a dialog box for the Registry Editor will pop asking if you want to continue. Press "Yes" again. You'll then get a message saying it was successfully added to the registry. Click "Ok."
At this point, the OS' registry has been updated and Windows Photo Viewer has essentially been unlocked. All that is left to do is adjust some settings to be able to use the app. Unfortunately, you can't just set the default app to Windows Photo Viewer the way users that upgraded can.
3. Tweak settings
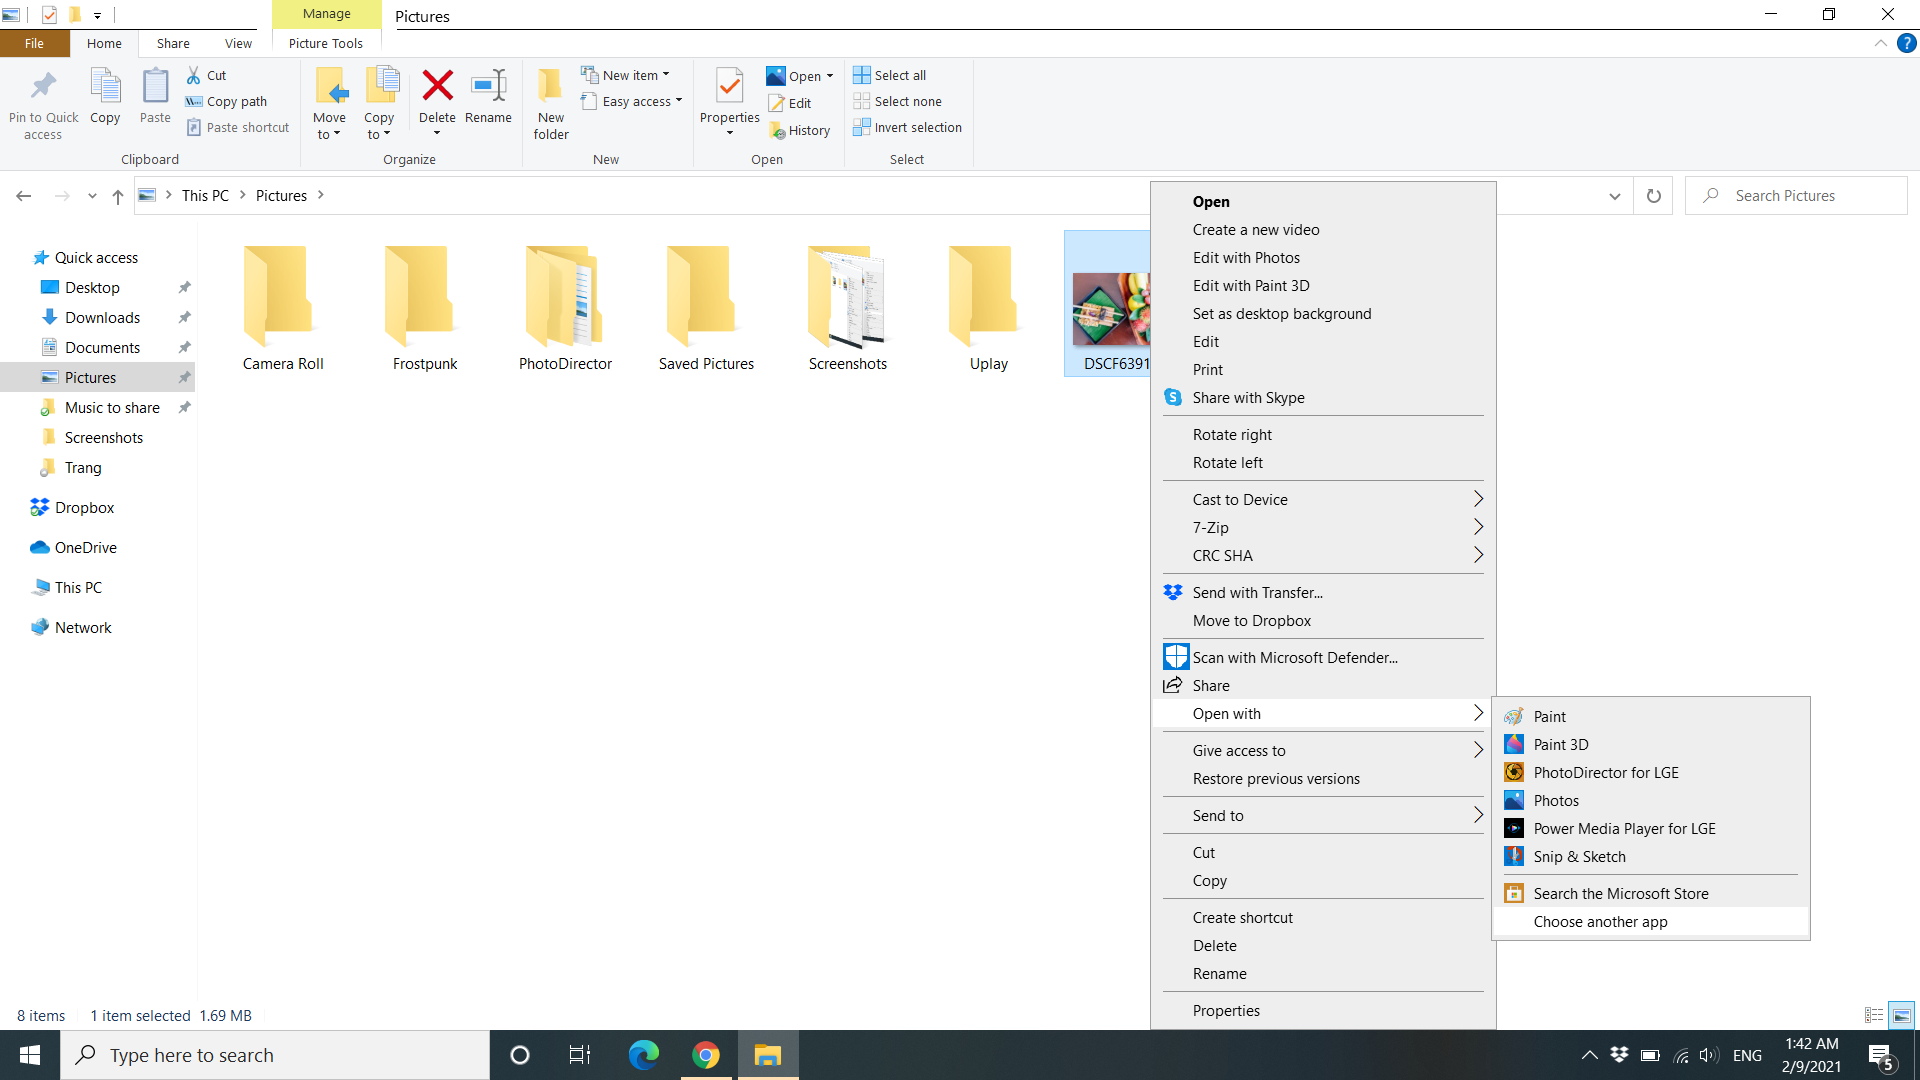
To adjust settings for a photo, right-click on a picture that you want to open and hover over "Open With."
You'll see a menu expand to the side showing other apps that can open the file. At the bottom, you'll see the option, "Choose another app," which you'll click on.
4. Select Windows Photo Viewer app
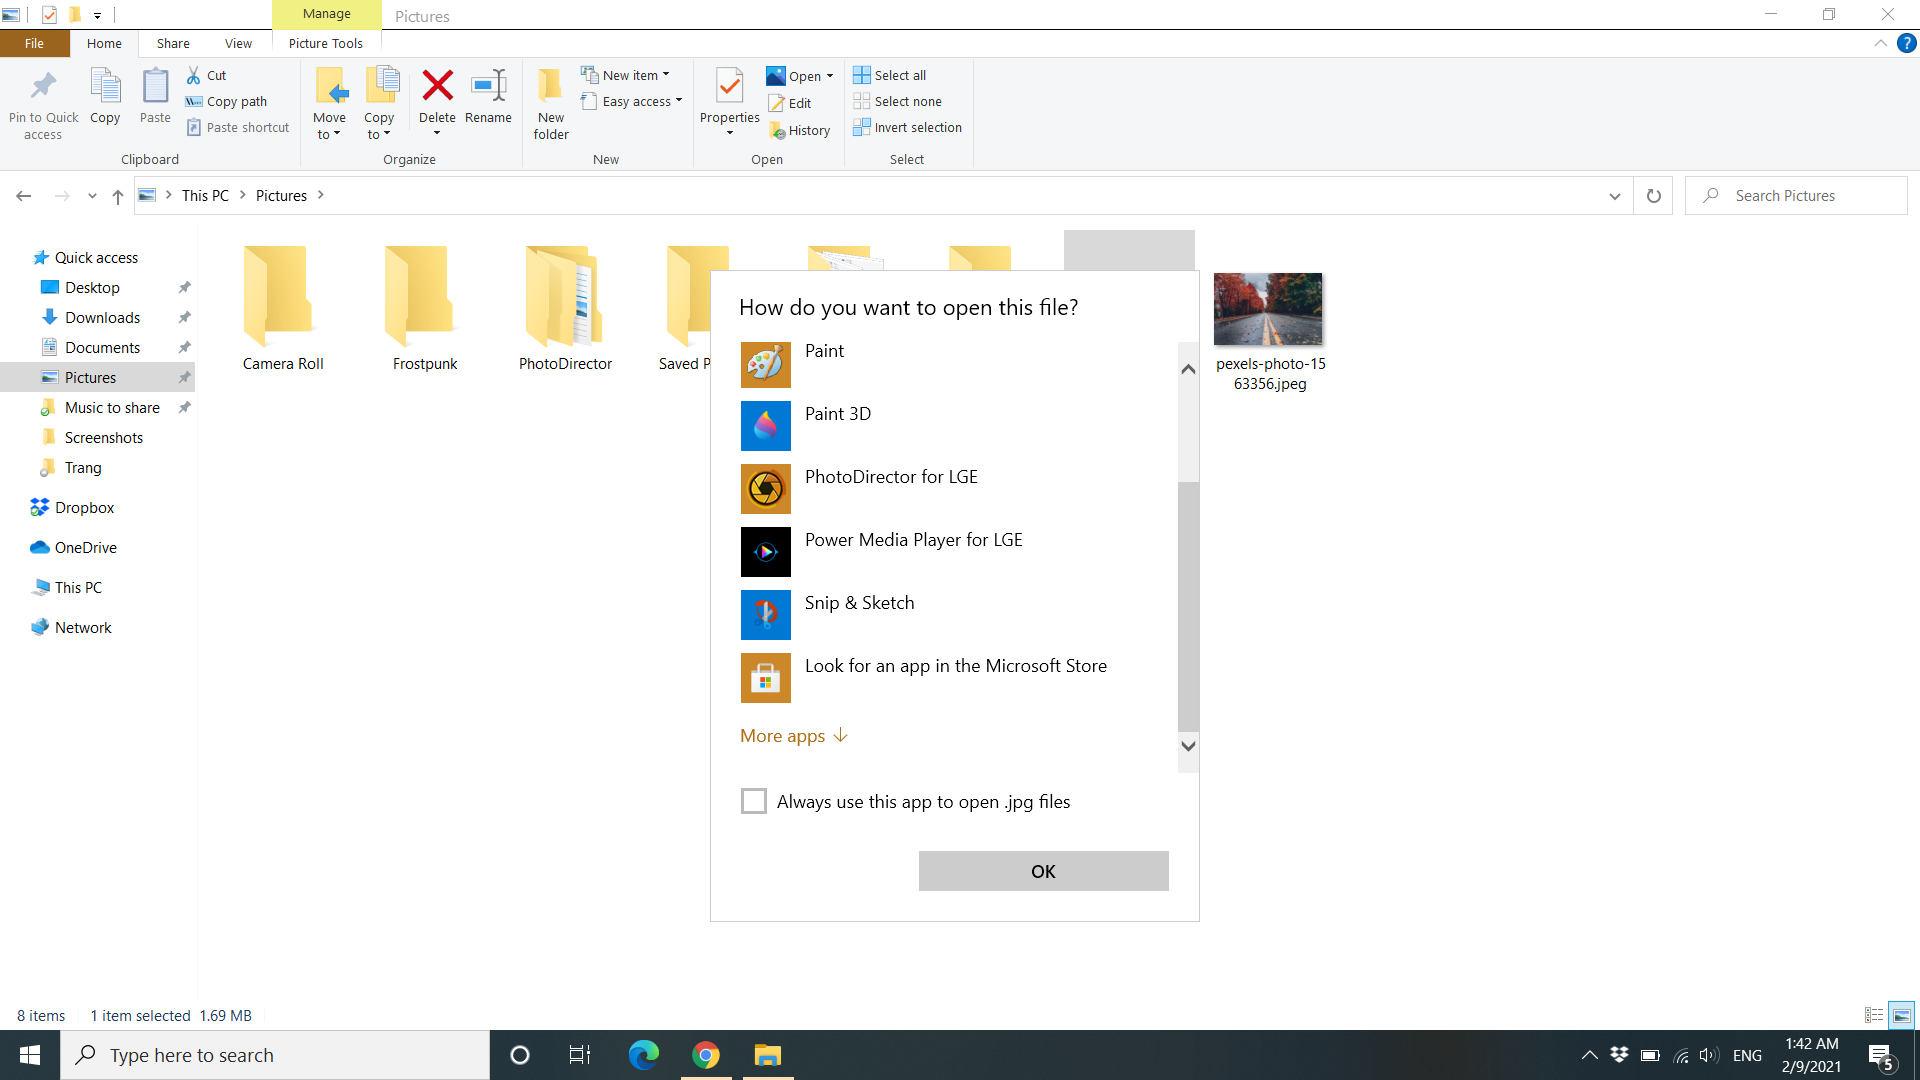
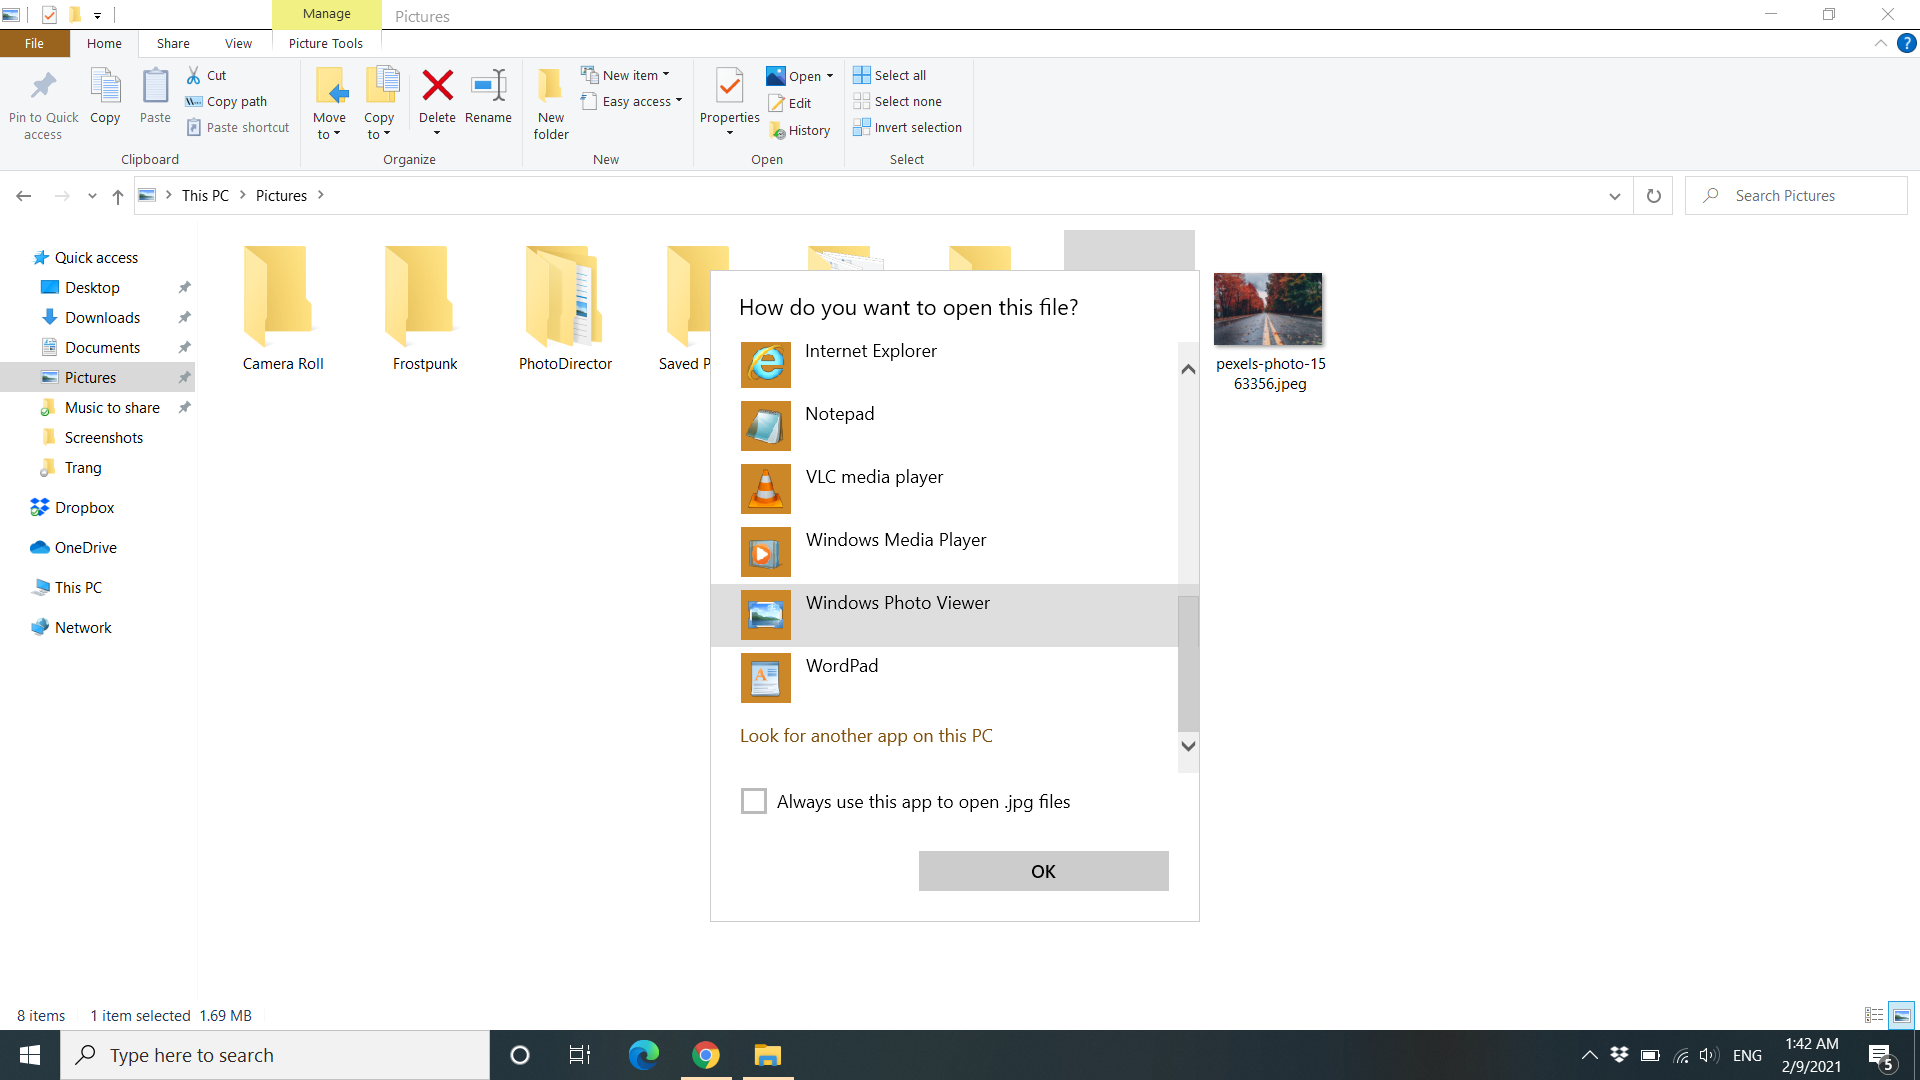
When the new dialog box opens, scroll to the bottom where it will say "More Apps" and click to expand the available selections.
Here, you'll find the Windows Photo Viewer app.
5. Set file type to default to Windows Photos Viewer
If you want all photos of that file type to be opened by Windows Photo Viewer, check the box next to "Always use this app to open [extension] files." If you're trying to open a JPEG, for instance, the text will read "Always use this app to open .jpeg files."
6. Confirm
Press "OK" to finalize your selection.
You'll have to repeat Steps 3 through 5 for each file type for which you want to use the Photo Viewer as the default photo app.
Why choose Windows Photo Viewer over Microsoft Photos?
Image 1 of 2
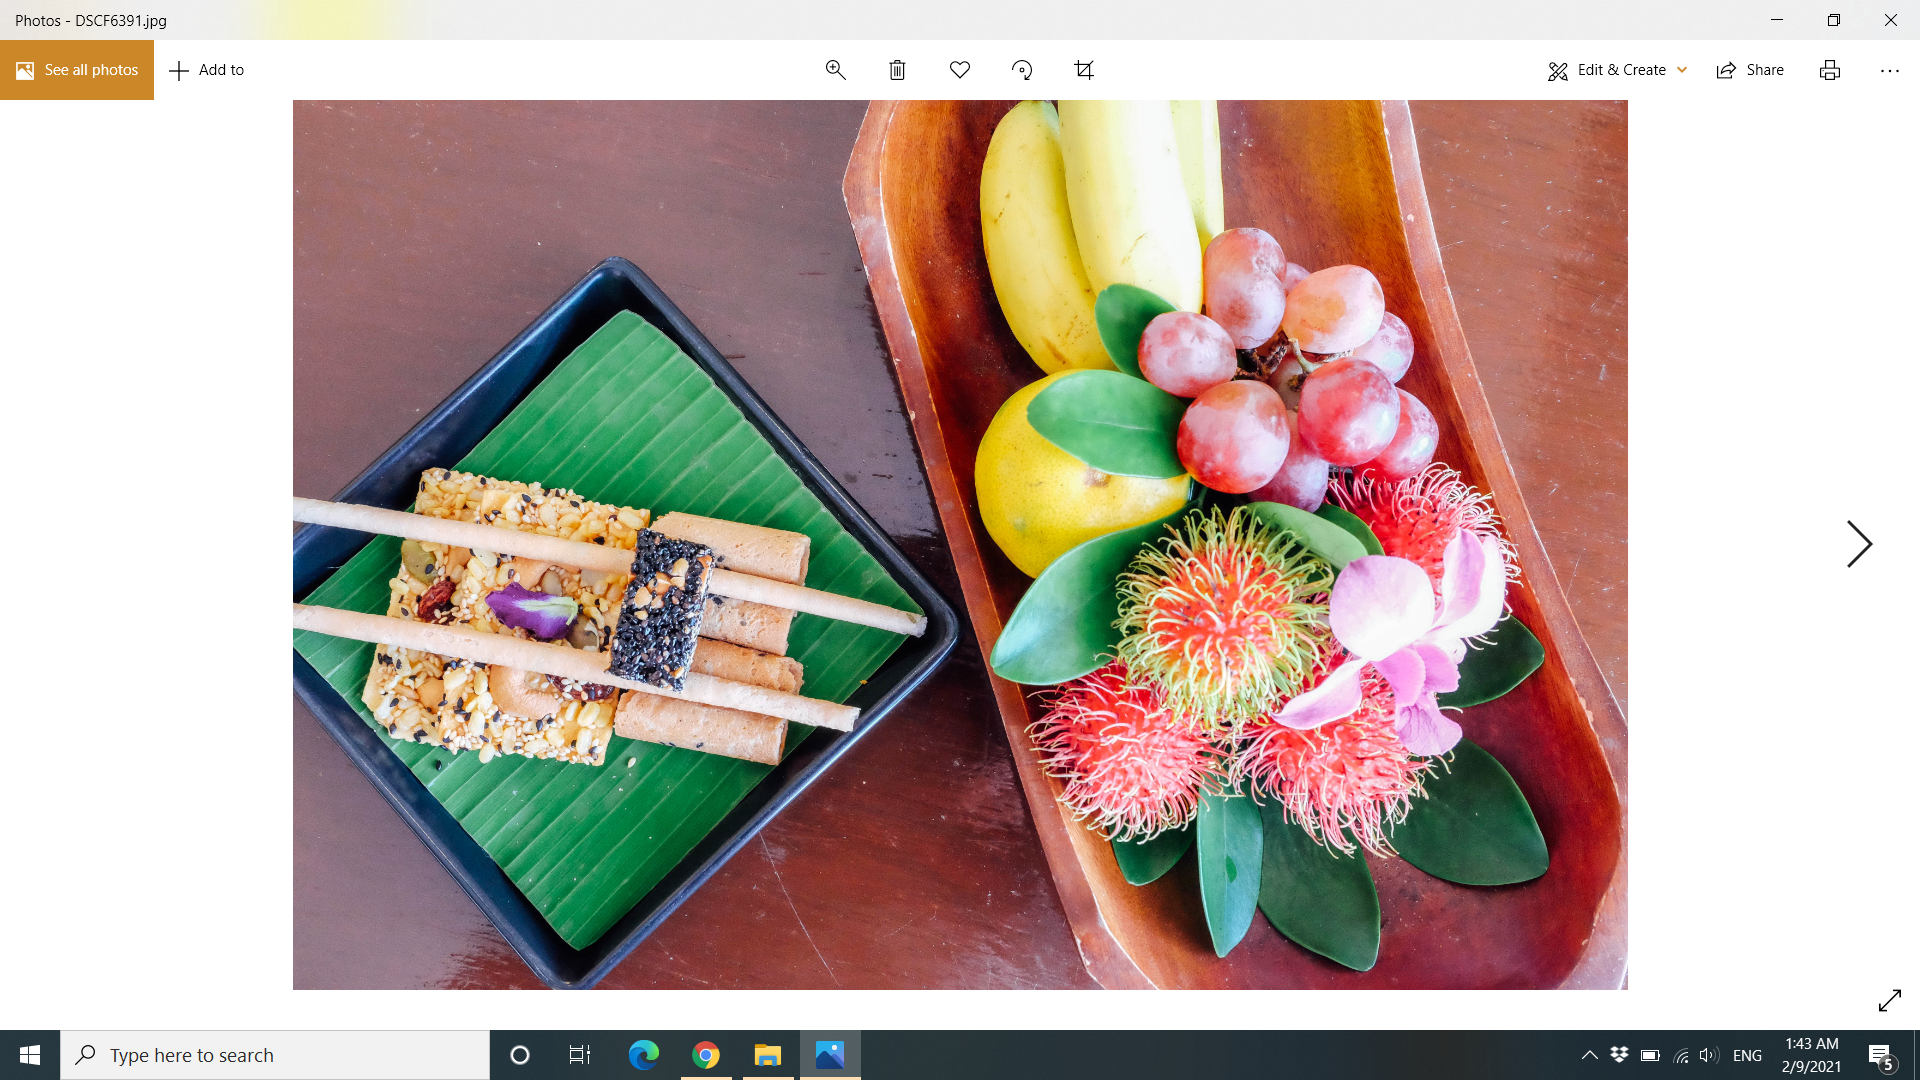
Image 2 of 2
Microsoft's new Photos app has come quite a long way since it first launched with Windows 10, incorporating some of the features it initially didn't have but Windows Photo Viewer had, like a right-click menu.
But it's still a resource hog in comparison to its predecessor. If you want to be able to quickly load and scroll through a bunch of photos without taxing your computer, Windows Photo Viewer is the better choice.
Photo Viewer's UI is also a bit more straightforward since it's mostly centered on the bottom. The Photos app, in comparison, places most of its menus and buttons across the top, with its "Next" and "Previous" buttons pushed to the edge of the screen.
- These are the best photo editing apps

Michelle Rae Uy is a Los Angeles-based editor, writer and photographer with a bad case of wanderlust. She is a regular contributor for Thrillist, TravelAge West, HuffPo Travel, Paste Magazine, and Travel Pulse. She has written for publications like Nylon, Fodor's and SmarterTravel, and is also the contributing editor for MiniTime.com.
How to Get Photo Viewer in Windows 10
Source: https://www.techradar.com/how-to/how-to-restore-and-use-windows-photo-viewer-in-windows-10